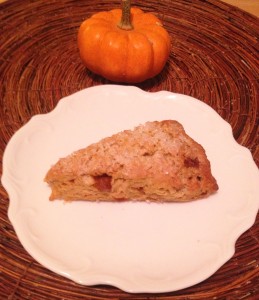
Recipe: Autumn Petite Pumpkin Scones
 Pin It
I LOVE to bake…in fact I have been baking since I was in high school (more years than I care to share). Although I consider myself an avid baker, I never attempted making scones before. I guess I was intimidated, hearing horror stories of scones that could be used as door stops. to bake…in fact I have been baking since I was in high school (more years than I care to share). Although I consider myself an avid baker, I never attempted making scones before. I guess I was intimidated, hearing horror stories of scones that could be used as door stops.
This fall, I attended my first King Arthur Traveling Baking Demo
and I learned a lot of great tips. One thing I learned was how easy it is to make scones. When I got home from the King Arthur TBD I immediately made my first scones. I literally put my purse down and began making them. They took about 5 minutes from start to finish hands-on time. I used one of my favorite kitchen tools, the food processor. It helped take the fear out that I would work the dough too much and get, well, the hard as a rock door stops. When I say 5 minutes, I mean it really took only 5 minutes. I haven’t made them without a food processor so I don’t know how much time it saves, but these are so worth it even if it takes a bit longer by hand.
This recipe for Autumn Petite Pumpkin Scones – adapted King Arthur Flour_Harvest Pumpkin Scones Recipe – is really delicious. They do not crumble apart when you take a bite (huge pet peeve of mine.) Let me show you my adaptation and help remove the fear for you too if you’ve always wanted to make them.
<Scroll all the way to the bottom for a standard printable recipe>
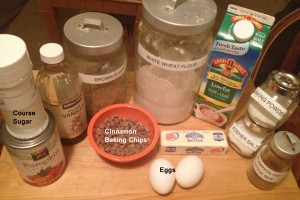
Here are the ingredients: all-purpose flour (I used white wheat flour), light brown sugar, baking powder, salt (I used kosher salt), pumpkin pie spice, ice cold butter (freeze at least an hour prior), canned pumpkin puree (I used fresh, but canned works great), eggs, vanilla extract, cinnamon baking chips (you could also mix-in chopped pecans or minced crystallized ginger and I’ve tried both and they are great), half & half, and course white sugar.
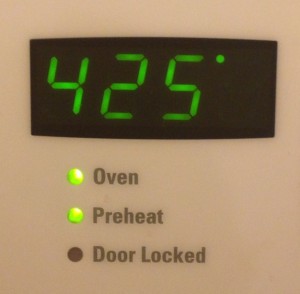
Preheat your oven to 425°F (215°C). You can preheat the oven at this stage OR wait until later when you freeze the scones 30-minutes before baking. I do it right away so I don’t forget.
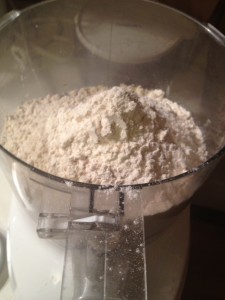
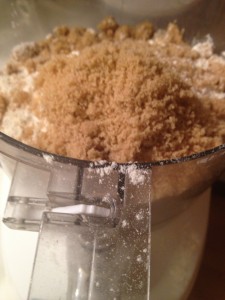
Measure the flour and light brown sugar and add them to the bowl of a food processor (or large mixing bowl if you’re doing this by hand.)
Note: It’s important to measure out the flour using the “scoop and level” or “scoop and sweep” method. This involves scooping the ingredients into the measuring cup and then sweeping off the excess of the ingredient at top of measuring cup – using a long, flat utensil, like a knife, bench scraper, etc. If you do this over a paper towel or clean kitchen towel, you can easily add back to your ingredient bin (as not to waste). If you do not do this, you risk getting way too much flour than your recipe calls for (net, net, it will be DRY). So after you’ve scooped and fluffed the flour around a bit to loosen/lighten, take any stiff flat edge and sweep across your measuring cup for the most accurate reading. <I’ll have a demonstration of this in an upcoming post>
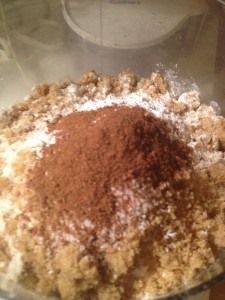
Next add in the baking powder, salt, and pumpkin pie spice (order does not matter.) Check out: How to Make Homemade Pumpkin Pie Spice Mix
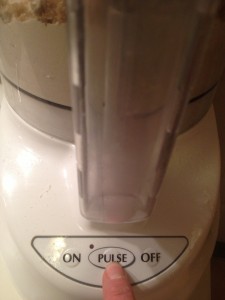
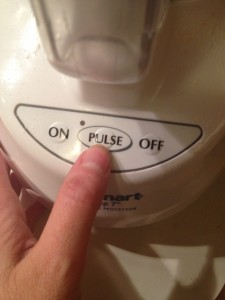
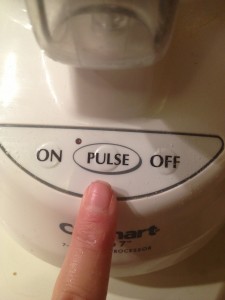
Pulse your food processor about 5 times to combine the 5 dry ingredients.
If you are working the dough by hand, simply whisk the dry ingredients together.
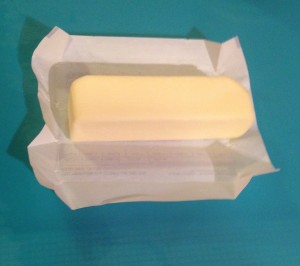
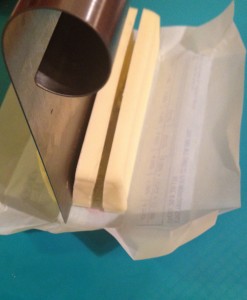
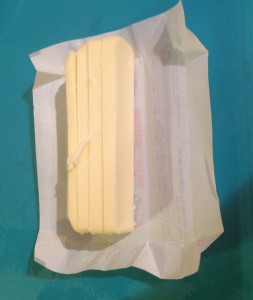
Then flip the butter on its side and make 3-4 slices down – making long butter matchsticks (final matchsticks on right). Cutting your butter into the cubes in this manner reduces the likelihood you will soften the butter with your hand temperature. Be careful to limit touching the butter as much as possible as that softens the butter. It will make your scones less tender.
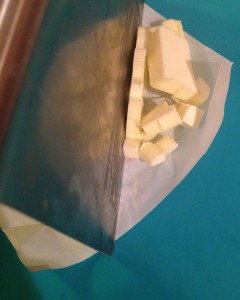
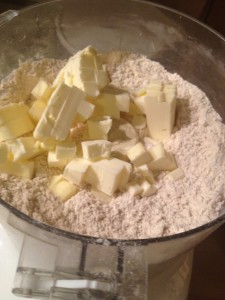
Then simply chop the matchsticks into tiny cubes and immediately add to the food processor with the dry ingredients.
Pulse the food processor about 10 times – do NOT over mix. You should have lentil to pea size pieces of butter in the dry mixture now (sorry, I forgot to take a picture of this…will insert at a later date). It is alright for some larger chunks of butter to remain unincorporated.
If you are working the dough by hand, just work the butter in just until the mixture is unevenly crumbly. Keep in mind that it’s alright for some larger chunks of butter to remain unincorporated.
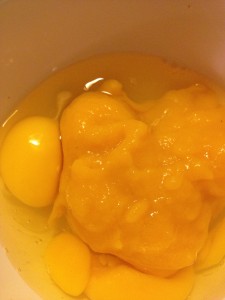
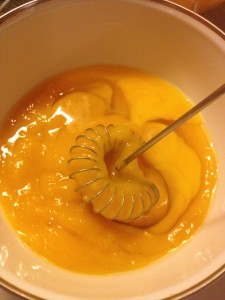
Crack the eggs in a small bowl and add the pumpkin puree and the vanilla extract. Whisk to combine…
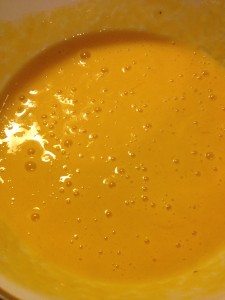
…and wet mixture is smooth.
Add the wet ingredients (eggs, pumpkin puree, and vanilla extract) to the dry ingredients + butter in food processor and pulse up to 10 times. No more!
If you are working the dough by hand, add the wet mixture into the dry ingredients and stir until all is moistened and holds together if you lightly squeeze some of the dough.
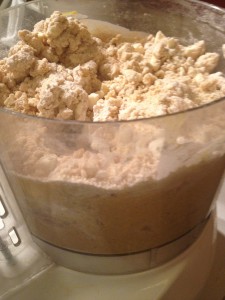
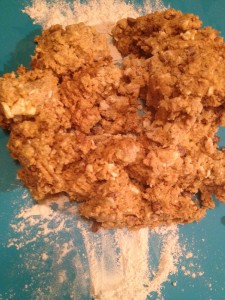
Your dough will look something like this. You will still see flour pockets, but that’s ok. Just try hard to resist the temptation to keep mixing. If it looks too wet, don’t add more flour. You can always add more flour when you’re doing the final work by hand, if needed.
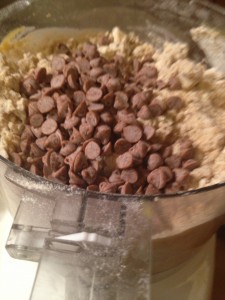
Now it’s time for the mix-ins. I used cinnamon baking chips, but you can use chopped pecans, chopped candied ginger, butterscotch chips, whatever! Pulse 5 times – and absolutely no more in fact less is better. You can also add the mix-ins to the dough when you’re doing the final work by hand. I’ve done each method and they both work great.
I need to rant about Hershey’s Cinnamon Baking Chips for a sec. This fall I had been looking for cinnamon baking chips in stores for a month or two when I realized the window for selling them (in stores) is very small. I found them early November in my stores in Minnesota. I bought more than my fair share too (5 bags – would have bought more but the expiration date was 12/31/12). I had to stock up like a squirrel heading into winter. Hah! So if you’re looking for these in your stores and it’s outside of November/December, don’t be surprised if you don’t find them. Try an online source or unwillingly substitute.
Lightly flour a non-stick surface. I am using a flexible cutting mat here ONLY for photographs, but parchment paper or silicone baking mats are what I typically use when not taking pictures of my baking. Make sure the parchment or silicone baking mat is on the baking sheet you are going to use; it makes it easier for later steps.
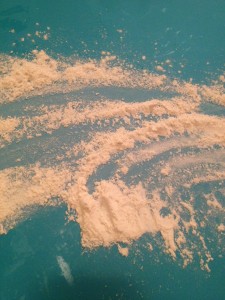
Place a small amount of flour (1-2 tablespoons) on the surface and spread about. Then drop your dough on the floured surface.
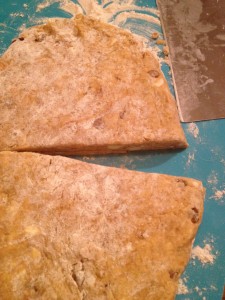
Pat the dough into one big mass. If you need to add a bit more flour, add in small increments (1 teaspoon at a time). Sprinkle the flour over just the area that is too moist and sticky. Once your hands do not stick to the dough a lot, its ready. Divide the dough in half with a bench knife or other sharp knife.
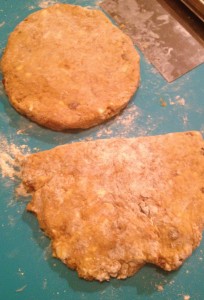
Shape each half of the dough into a circle that is about 3/4 to 1 inch thick.
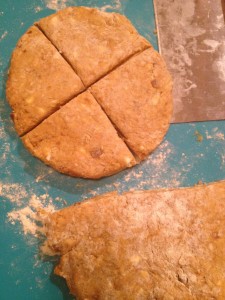
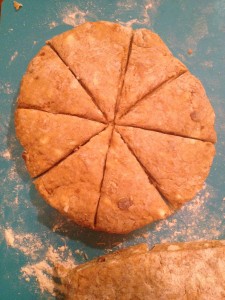
Cut each circle in half, and then cut each half in half – giving you 4 pieces. Then cut each of the 4 pieces in half giving you 8 triangles.
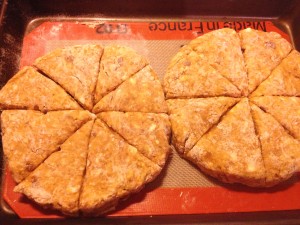
Place the cut scones in the freezer, uncovered, for at least 30-minutes before baking. This helps the scones texture and provides the highest rise. You can pre-heat the oven to 425°F (215°C) if you didn’t already.
Separate the wedges from the circles and space out about 1/2 inch between each scone on the baking pan.
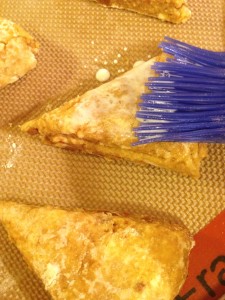
Before baking, brush each triangle lightly with half and half. And if desired, sprinkle with coarse white sugar (or even regular sugar or cinnamon sugar).
Freezing for another day: If you plan to bake another day, simply place the frozen scones (leave in freezer uncovered overnight to freeze solid) in a zip-top freezer bag. Wait to this stage with half & half and sugar until you are ready to bake. When you are ready to bake, bake them right out of the freezer (do not thaw) and add about 4-5 minutes baking time.
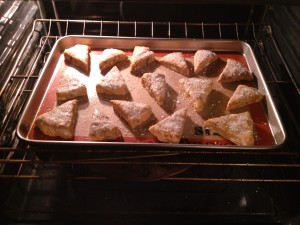
Place scones in a preheated oven and bake at 425°F (215°C) for 18-23 minutes or until they’re golden brown and a toothpick inserted into the center of one scone comes out clean, with no wet crumbs. Do not over-bake. I would start checking for doneness at the 18 minute mark to be safe.
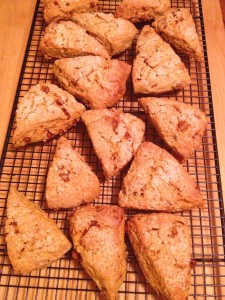
See how they puffed up. That was from freezing them 30-minutes prior to baking. These made my house smell divine!
Remove the scones from the oven and cool slightly before serving. Serve warm. You can emulate fresh from the oven by microwaving for 10-15 seconds.
.
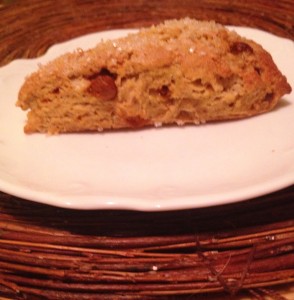
You can tell just by looking at these close up they are tender inside. And man these were good! I hope you give them a try and let me know how they turned out (please comment below).
Enjoy the comfort of food!
++++++++++++++++++++++++++++++++++++++++++++++++++++++++++++++++++++++++++++++++++++
Printable Recipe:
Autumn Petite Pumpkin Scones
| Serves | 16 |
| Prep time | 15 minutes |
| Cook time | 25 minutes |
| Total time | 40 minutes |
| Allergy | Egg allergy, Milk Allergy (Dairy), Wheat Allergy (Gluten) |
| Dietary | Vegetarian |
| Meal type | Bread and Rolls, Breakfast |
| Misc | Freezable, Pre-preparable, Serve Cold, Serve Hot |
| Occasion | Thanksgiving |
| Website | King Arthur Flour Recipes |
Ingredients
- SCONES:
- 2 3/4 cups all-purpose flour (I used white wheat flour)
- 1/3 cup light brown sugar
- 1 tablespoon baking powder
- 3/4 teaspoons salt (I used kosher salt)
- 1 1/2 teaspoon pumpkin pie spice (I used homemade (see recipe above in post), but store-bought works too)
- 8 tablespoons butter, ice cold and cubed (freeze for at least an hour before using)
- 2/3 cups pumpkin puree (canned or homemade)
- 2 Large eggs
- 1 teaspoon vanilla extract
- MIX-INS FOR SCONES: (Between ginger, cinnamon chips and pecans use total combined measurement of 1/4 cup)
- crystallized ginger (finely chopped)
- cinnamon baking chips
- pecans (finely chopped)
- PRIOR TO BAKING SCONES:
- 1-2 tablespoon half & half or milk (for brushing tops of scones prior to baking)
- 2-3 tablespoons coarse white sparkling sugar (for tops of scones prior to baking)
Note
Recipe URL: https://recipesingoodtaste.com/?recipe=recipe-autumn-petite-pumpkin-scones
Directions
| Step 1 | Preheat oven to 425°F | |
| Step 2 | In bowl of food processor (or un a large mixing bowl), mix together the flour, sugar, baking powder, salt, and pumpkin pie spice. Hit the pulse 10 times in a food processor. | |
| Step 3 | In a food processor (or with pastry blender or hands) work in the butter just until the mixture is unevenly crumbly. Pulse 10x in food processor. It is alright for some larger chunks of butter to remain unincorporated. Look for lentil size pieces. | |
| Step 4 | In a small bowl, whisk together the pumpkin, vanilla extract, and eggs until combined & smooth. | |
| Step 5 | Add the wet ingredients into the dry ingredients and stir until all is moistened and holds together. Hit the pulse 8-10 times in a food processor. | |
| Step 6 | Optional: Stir in the ginger and/or chips and/or pecans if you're using them (use a combined amount of mix-ins to equal 1/4 cup maximum). You may pulse 5 times in food processor or fold in gently by hand. | |
| Step 7 | Sprinkle a bit of flour on your work surface. Scrape the dough onto the floured parchment or pan, and divide it in half. | |
| Step 8 | Pat each half of scone dough into circle that is about 3/4 to 1 inch thick. | |
| Step 9 | Using a sharp knife or bench knife, slice each circle into 8 wedges. | |
| Step 10 | Line a baking sheet with parchment or a silicone liner. Place the scones on the baking sheet & freeze uncovered for at least 30 minutes prior to baking (this helps texture and provides the highest rise). | |
| Step 11 | Before baking, brush each wedge with half & half and sprinkle with coarse white sparkling sugar, if desired. | |
| Step 12 | Separate the wedges from the circle & space out about 1/2 inch between each scone on the baking pan. | |
| Step 13 | Bake for 22-25 minutes, or until they're golden brown and a toothpick inserted into the center of one scone comes out clean, with no wet crumbs. | |
| Step 14 | Remove the scones from the oven and cool slightly before serving. Serve warm. You can freeze before the baking stage for 3-4 months or so. When you’re ready to bake, simply start with step 11 and add 4-5 minutes baking time. Use the same method to check doneness as fresh. |
++++++++++++++++++++++++++++++++++++++++++++++++++++++++++++++++++++++++++++++++++++
PS: If you see mistakes (i.e., spelling errors or inconsistencies in the recipe), please tell me right away. I appreciate any help I can get!










 Print recipe