Recipe: Peanut Butter and Jelly Cookies
 Pin It
I’m back!! I’ve been so sidetracked – busy with work and moving, etc. – I haven’t gotten back into blogging. That changes today! I am very excited to start blogging again and sharing my passion with others.
This recipe is a new recipe I recently tried. I was on the lookout for some great cookie recipes and stumble on this one. It’s for Peanut Butter & Jelly Cookies. That’s right…PB&J Cookies. They are phenomenal. The peanut butter flavor mixed with your favorite jam or jelly make for a sublimely satisfying treat. They took a bit longer than the standard drop cookies, but only slightly longer. Believe me when I tell you, it’s well worth the minute or so extra per tray of cookies.
For a standard printable recipe, scroll all the way to the bottom.
Advice: Keep this in mind for this recipe and all recipes you make. Read the recipe completely before beginning. That way you what to expect and are more prepared with your ingredients.
NOTE: For those of you who have read my previous blog posts, I have decided to change my style from step-by-step pictures to just a few pictures. I needed to do this to save time to allow me to continue to blog. I’m hoping you still get some useful tips and guidance as you try out my recipes. Please comment below if desired.
**If you need fewer instructions for recipes CLICK HERE for a simplified recipe blog post.
Let’s get started:
List of ingredients: Butter, peanut butter (creamy or chunky, just don’t use natural peanut butter otherwise the extra oil will through off the consistency of the dough), brown sugar, granulated sugar, large egg, vanilla extract, all-purpose flour, salt, baking soda, and your favorite jam or jelly.
Simple Prep Work:
1. Adjust your oven rack to the middle position.
2. Preheat your oven to 350 degrees F (TIP:Oven Temperature Conversion Chart for Celsius)
3. Line a baking sheet (or baking sheets) with parchment paper or use a silpat (silicone liner). (TIP:How to Bake Cookies on 3 different Surfaces )
Mixing the Dough:
In a mixing bowl, cream the butter, peanut butter and sugars together until light and fluffy. This is approximately 3-4 minutes using an electric mixer. I used a stand mixer, but you can use a hand mixer or a wooden spoon for the job.
Add in the large egg and vanilla extract and continue creaming until well combined. Note – room temperature eggs incorporate better into the dough. (Tip: if you forget, run egg under lukewarm tap water until the chill is removed from the egg.)
Add the flour, baking soda, and salt to the mixing bowl. Mix until the dry is combined with the wet ingredients, careful not to over-mix. This dough is a bit stiffer than most cookie doughs. It’s not wet or really dry. It will not stick to your fingers or crumble. It should easily form into balls.
Assembling the Dough:
Step 1: Use a tablespoon or cookie scoop (mini ice cream scoop) to make small round balls of dough. You can just use the scooped dough or roll them quickly into smooth balls of dough, in the palm of your hand.
Step 2: Place the cookie dough balls on your prepared cookie sheet(s) an inch or so apart. Gently press a thumbprint or indentation into the dough balls. You can use your thumb or the back of a teaspoon measuring spoon. The measuring spoon method works best for consistent results.
Step 3: Next spoon a very small amount of jam in the indention. If I were to give exact measurements I’d say just over a ½ teaspoon per cookie. (I used slightly less than a tablespoon of jam for 6 small-ish cookies).
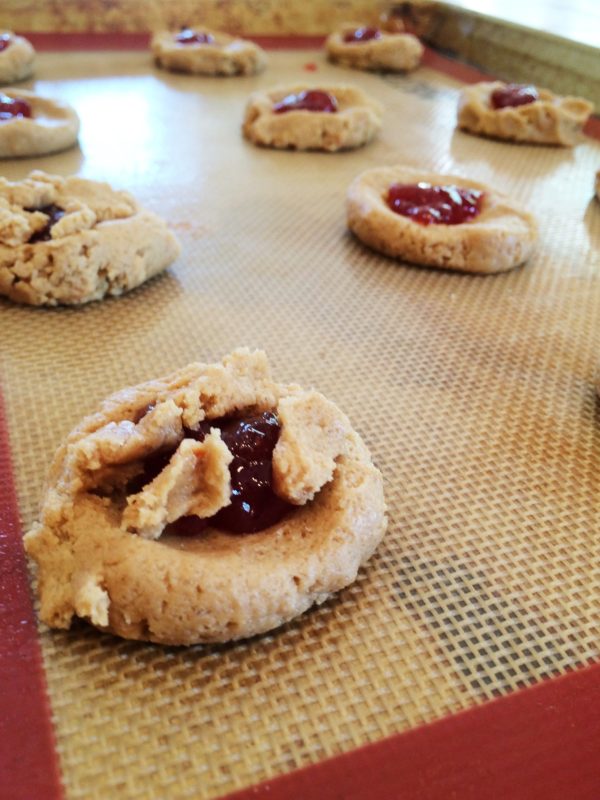
Step 4: The last step is to crumble a bit of additional dough on top of the cookies, leaving some of the jam peeking through. I dropped the dough in very tiny pieces to get the crumbled look and I was careful to cover the sides so the jam didn’t melt out during baking. It doesn’t have to be perfect. It’s supposed to look rustic.
Baking the Cookies:
Bake the cookies for 9-14 minutes. It really depends heavily on the size of the cookie dough ball. The important gauge of doneness is when the tops of the cookies are golden brown AND you can see that the bottom surface of the cookie is slightly browned. Note: If you take the cookies out too early (under-baked) they will easily fall apart. Be careful not to overbake as well.
Cooling the Cookies:
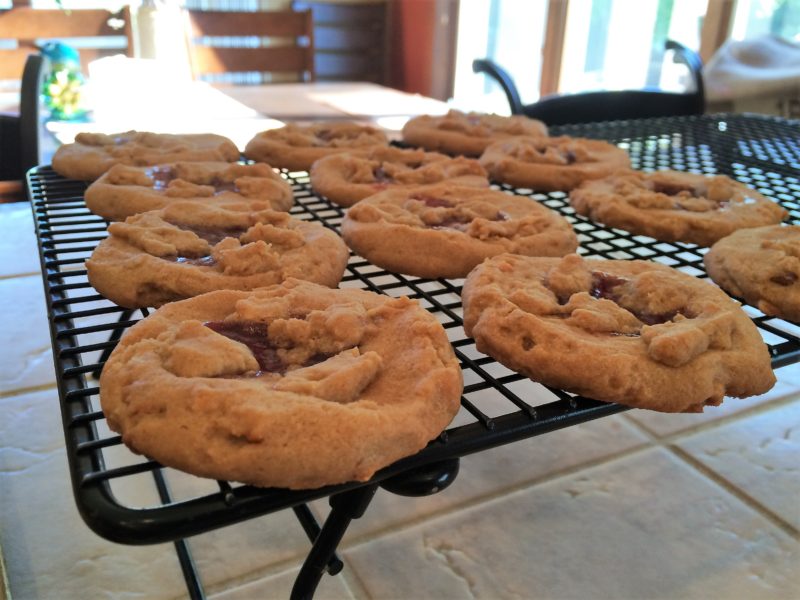
Cool cookies on baking sheet 3-5 minutes. Then use spatula to transfer cookies to wire cooling rack to cool completely. Cool cookies until they are room temperature and then they are ready to serve. The cookies can be stored at room temperature in airtight container or zip-top plastic bag up to 4 days, refrigerated for just over a week or stored in the freezer for 2-3 months. They will NOT last long, that’s for certain!
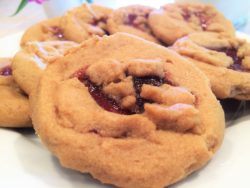
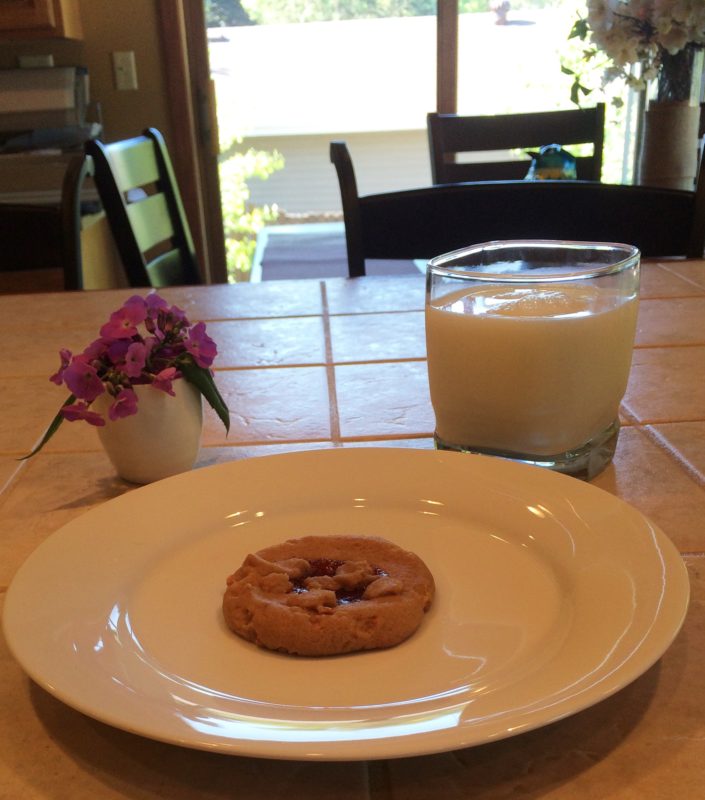
I absolutely love these Peanut Butter & Jelly Cookies. They remind me of the classic PB&J sandwich we all know and love! I love the jam peeking through the crumbles. Pretty and really, really tasty! I know will be making these again; probably very soon. If you try this recipe for Peanut Butter & Jelly Cookies, please COMMENT below. I want to hear your results!
Enjoy the comfort of food!
++++++++++++++++++++++++++++++++++++++++++++++++++++++++++++++++++++++++++++++++++++
Printable Recipe:
Peanut Butter and Jelly Cookies
Serves
18
Prep time
10 minutes
Cook time
12 minutes
Total time
22 minutes
Allergy
Egg allergy, Milk Allergy (Dairy), Peanuts Allergy, Wheat Allergy (Gluten)
Meal type
Dessert, Snack
Misc
Child Friendly, Freezable, Pre-preparable, Serve Cold, Serve Hot
Occasion
Barbecue, Birthday Party, Casual Party
Website
Adapted from
Ingredients
Directions
Step 1
Adjust your oven rack to the middle position. Preheat oven to 350 degrees. Line a baking sheet(s) with parchment paper or use a silpat (silicone baking sheet liner).
Step 2
In a mixing bowl, cream the butter, peanut butter and sugars together until light and fluffy. This is about 3-4 minutes with an electric mixer. Add in the egg and vanilla extract and continue creaming until well combined.
Step 3
Add in the flour, baking soda and salt until just until the dry ingredients are incorporated and the dough forms. Keep in mind it is more of a stiff dough that is not dry or wet.
Step 4
Use a tablespoon or cookie scoop to make small round balls of dough. Place cookie dough balls about 1 inch a part on your prepared cookie sheet(s). Gently press a thumbprint or indentation into the dough balls. Next spoon a very small amount of jam in the indention (I used just under a tablespoon of jam for 6 cookies). The last step is to crumble a bit of additional dough on top of the cookies, leaving some of the jam peeking through. I dropped the dough in very small pieces to get the crumbled look and I was careful to cover the sides so the jam didn’t melt out during baking.
Step 5
Bake for 9-14 minutes, depending on the size of the cookie. The important gauge is the tops of the cookies are golden brown and you can see a bit of the bottom surface of the cookie slightly browned. If you take the cookies out too early (under-cooked) they will easily fall apart.
Step 6
Cool cookies on baking sheet 3-5 minutes, then use spatula to transfer cookies to wire cooling rack. Finish cooling cookies until they are room temperature and serve. The cookies can be stored at room temperature in airtight container or zip-top plastic bag up to 4 days, refrigerated for just over a week or stored in the freezer for 2-3 months.
++++++++++++++++++++++++++++++++++++++++++++++++++++++++++++++++++++++++++++++++++++
PS: If you see mistakes, including spelling errors or inconsistencies in the recipe, please tell me right away!


 Print recipe


