Recipe: Fast & Easy Shrimp Fettuccine
 Pin It
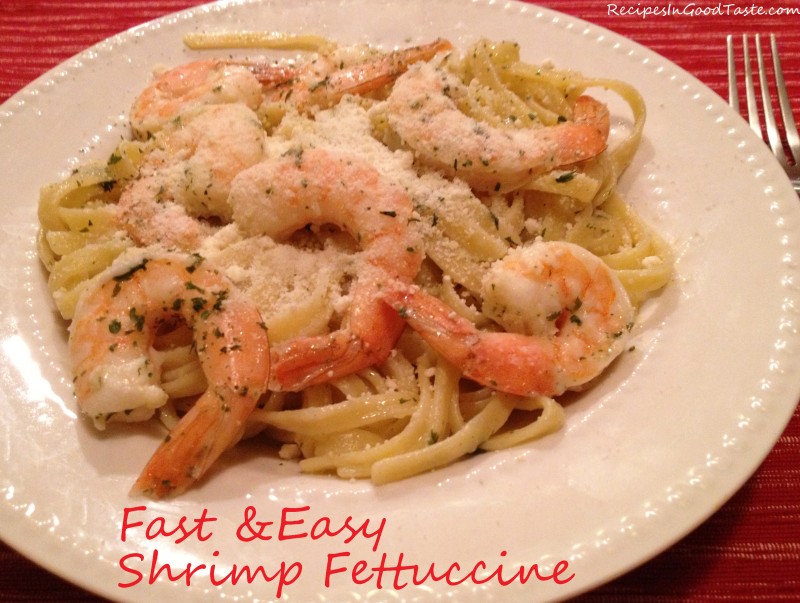
Since my husband is a shrimp lover, I’m always looking for good go-to shrimp recipes. So when I had a couple pounds in my freezer to use up before it turned bad, I created this delicious Fast & Easy Shrimp Fettuccine recipe.
This Shrimp Fettuccine is so fast and easy to make, you can make any night feel special. It’s packed with flavor too. This is just perfect to make for Valentine’s Day, date night, or any night. It takes from start to finish in right around 20-minutes. Really!
I recently told a young guy I work with that he should make this for one of his dates. I basically told him that a guy that cooks for a lady is very rare and he’ll look good! I also told him there’s a lot of garlic in this dish, but as long as you BOTH eat it you’ll be fine. LOL!
I’m not joking either. It’s ridiculously fast & easy to make. Let me show you how to make this Fast & Easy Shrimp Fettuccine.
<Don’t like step-by-step pictures? For a standard printable recipe, CLICK HERE or scroll all the way to the bottom>
Here are the simple ingredients: lemon, garlic, shrimp, butter, parsley, olive oil, and fettuccine noodles (ingredient not shown: kosher salt — to add to pasta water and to add later to taste).
Preheat your oven to 350°F (175°C).
Next get your pot of water ready for the fettuccine. Get a large stock pot and add plenty of water (at least 12-16 cups). Then add 1-2 tablespoons of kosher salt. Let the water come up to a boil.
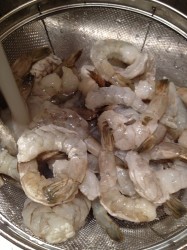
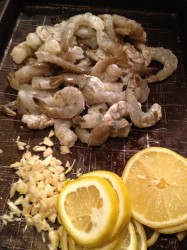
In the meantime, get your shrimp ready. I’m using almost an entire bag of shrimp (2 pound bag). My husband LOVES shrimp! Give them a good rinse under room temp water to thaw or cold water if they are already thawed. You can either keep the tails on or remove them. I kept mine on because it looks a little prettier. It also adds a lot of flavor to the juice you get from roasting. You’ll see later.
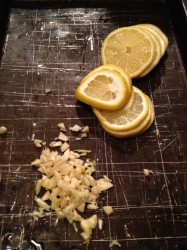
Next thinly slice one lemon and finely chop 5 garlic cloves and place them both on a rimmed baking sheet.
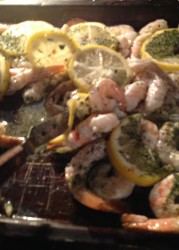
Add your rinsed and drained shrimp to the baking sheet with the garlic and lemon and then give it a good stir to combine.
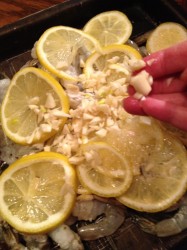
Now spread everything out on the baking sheet, making sure everything is distributed well.
I ended up placing the lemon slices on top, so you could just first combine the garlic and shrimp only and then lay the slices on top. That’s more logical, but either still work well.
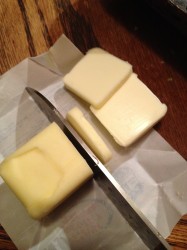
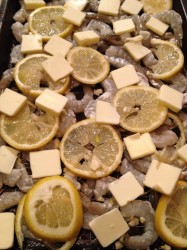
I’m not going to lie; this is not a light dish, so don’t cringe. Just slice the stick of butter so that it can be well distributed in the baking sheet. Sprinkle throughout so all areas of the pan have good coverage.
. Just slice the stick of butter so that it can be well distributed in the baking sheet. Sprinkle throughout so all areas of the pan have good coverage.
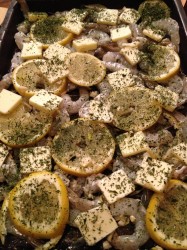
Next add in 1-2 tablespoons of dried parsley. I used about 2 tablespoons here. Just sprinkle throughout the pan to cover most of the surface.
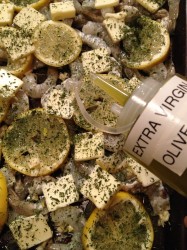
Now add the olive oil. I have my olive oil in a squirt bottle so that made it easy to distribute without overdoing it. I used about a tablespoon, give or take. You can simulate the squirt bottle by holding your thumb over the top of the olive oil spout. It will help a bit.
I have my olive oil in a squirt bottle so that made it easy to distribute without overdoing it. I used about a tablespoon, give or take. You can simulate the squirt bottle by holding your thumb over the top of the olive oil spout. It will help a bit.
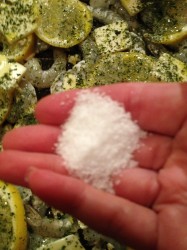
The next step is optional. I added about a teaspoon of kosher salt (for about 2 pounds of shrimp). You can add your salt later if you like too. It’s up to you. You can also add a salt-free seasoning, like a Mrs. Dash here too.
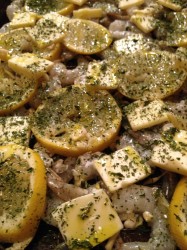
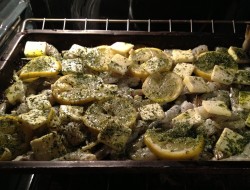
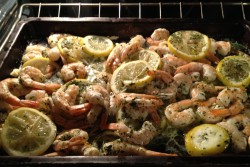
Into the oven it goes. Roast it at 350°F (175°C) for 15-minutes. Just don’t forget to set your timer. Rubbery shrimp does not taste good!
Once you put the baking sheet in the oven, I’ll bet your water will be at a full boil. Is it?
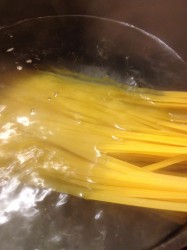
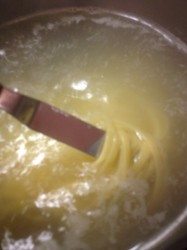
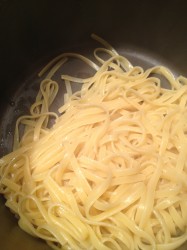
If the answer is yes, add your fettuccine noodles to the boiling water. Move it about a bit to make sure they are fully submerged in the hot water. Cook the pasta 1 minute shy of the package instructions. It will continue to cook a bit once we add the hot shrimp and liquid from the oven.
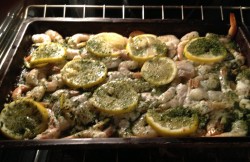
Half way through cooking the shrimp (when there is about 7 minutes remaining), give it a good stir. You’ll notice the shrimp has begun to cook and there are still some visible uncooked areas.
Spread it back out and place the lemon slices back on top again.
Now check your pasta. I think a good timer works well, but you should also check the tooth to see if it’s to your liking. Just don’t burn your mouth.
Once the pasta is done, drain it and put it back in the pot. And there’s no need to save any pasta water – you will have plenty of juice from the shrimp, butter, and lemon.
OK, my 15-minutes are up and the shrimp looked cooked through (no grey color left.) Just remove the baking sheet from the oven.
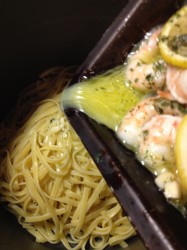
First remove the lemon slices from the pan and discard. I forgot to do this step and had to pick them out of the pot, so I’ll save you the trouble. Pour all the juice and all from the baking sheet into the pot. The juice that forms is amazing!
Immediately pour the shrimp, garlic and butter over the cooked pasta.
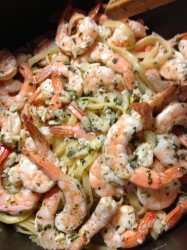
Stir to combine and serve immediately.
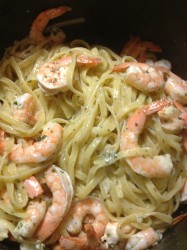
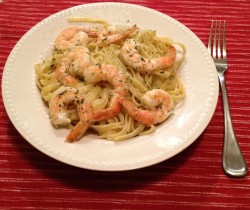
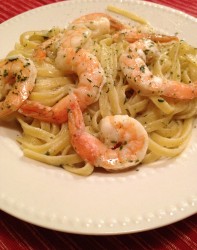
It’s elegant, romantic, and delicious! Looks great, doesn’t it? Just top with grated parmesan cheese and serve with garlic bread and you have a hit! Yum. My husband couldn’t get enough of this. I will definitely be making this one again (and again).

UPDATE: This is also really good if you add asparagus or broccoli to the mix. Very satisfying! Also, this recipe is versatile and can be easily tweaked for smaller or larger crowd’s (recipe is written for 6 people).
If you try this recipe for Fast & Easy Shrimp Fettuccine, please COMMENT below. I want to hear your results!
Enjoy the comfort of food!
++++++++++++++++++++++++++++++++++++++++++++++++++++++++++++++++++++++++++++++++++++
Printable Recipe:
Recipe URL: https://recipesingoodtaste.com/?recipe=recipe-fast-easy-shrimp-fettuccineFast & Easy Shrimp Fettuccine
Serves
6
Prep time
5 minutes
Cook time
15 minutes
Total time
20 minutes
Allergy
Fish Allergy (or Shellfish), Milk Allergy (Dairy), Shellfish Allergy, Wheat Allergy (Gluten)
Meal type
Main Dish
Misc
Child Friendly, Serve Hot
Occasion
Formal Party, Valentines day
Ingredients
Note
Directions
Step 1
Preheat your oven to 350°F (175°C).
Step 2
Boil a large pot of water and add about one tablespoon of kosher salt. Let the water come up to a boil.
Step 3
Rinse and drain your shrimp. You can keep tails on like I did or remove them.
Step 4
Add your rinsed and drained shrimp to a baking sheet. Next, thinly slice one lemon and finely chop 5 garlic cloves. Add the garlic to the shrimp and mix about to distribute. Then add the lemon slices on top of the garlic and shrimp.
Step 5
Slice your stick of butter and distribute throughout the baking sheet. Next, sprinkle the dried parsley over the top of the butter. Lastly, drizzle over top with the olive oil. If you like, sprinkle with a bit of kosher salt.
Step 6
Roast the shrimp at 350°F (175°C) for 15-minutes.
Step 7
Place your fettuccine noodles into the boiling water. Move it about a bit to make sure they are fully submerged in the hot water. Cook the pasta 1 minute shy of the package instructions.
Step 8
Half way through cooking the shrimp (when there is about 7 minutes remaining), give it a good stir. Spread it back out on the pan and place the lemon slices back on top again.
Step 9
Once the pasta is done, drain it and place the pasta back into the pot.
Step 10
Remove the shrimp from the oven and remove and discard the lemon slices. Immediately pour the shrimp, garlic and butter over the cooked pasta. Stir to combine and serve immediately.
++++++++++++++++++++++++++++++++++++++++++++++++++++++++++++++++++++++++++++++++++++
PS: If you see mistakes (i.e., spelling errors or inconsistencies in the recipe), please tell me right away. I appreciate any help I can get!






 Print recipe
Savannah - February 16, 2013 at 7:51 AM
I love how easy this recipe is. I am hosting a fish recipe series today and I would love it if you would consider sharing this recipe with my readers. I am stopping by from TastyKitchen.
Pam Ruder - February 17, 2013 at 3:16 AM
Sorry I’m getting back to you so late Savannah! Go ahead and share my recipe 🙂
Have a great day!
diane - August 16, 2013 at 6:29 PM
Hi,
Did you peel the shrimp before putting them on the baking sheet?
Pam Ruder - October 20, 2013 at 5:48 PM
Sorry for the delayed response…I’ve been on a hiatus. I peel them, but it’s not 100% necessary. The shells tend to add more flavor. I would remove before tossing with the pasta though.
Welcome to Recipes In Good Taste!
My name is Pam Ruder and I'm the author of Recipes In Good Taste. I've always loved to cook and bake...in fact I've come from a long line of the best bakers & home cooks. I feel great satisfaction sharing my latest creations with my friends and family. I'm so happy to now finally share my recipes with all of you; my new friends.
Most Recent Posts
Recipe: Holy Cannoli Dip
29th December, 2012Recipe: No-Fail Pizza Dough (Bread Machine)
6th January, 2013Recipe: Post-Thanksgiving Cranberry Sauce Muffins
22nd November, 2012Recipe: Triple Chocolate Cookies
28th May, 2016Recipe: Peanut Butter and Jelly Cookies
22nd May, 2016Recipe: Healthier Brownies (Gluten-Free, Dairy-Free, Refined Sugar-Free)
12th January, 2014Pam Ruder on Recipe: No-Fail Pizza Dough (Bread Machine)
20th Oct 2013Pam Ruder on Recipe: No-Fail Pizza Dough (Bread Machine)
20th Oct 2013Pam Ruder on Recipe: Fast & Easy Shrimp Fettuccine
20th Oct 2013Recent Pinterest Pins
Blogroll
Recipes In Good Taste | Delicious Comfort Food Recipe Blog | Pam Ruder