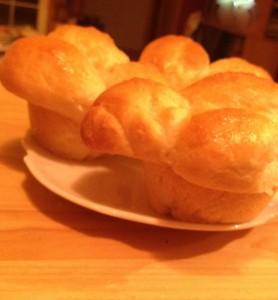
Recipe: Garlic Cloverleaf Dinner Rolls (Bread Machine)
 Pin It
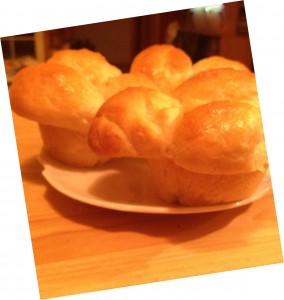
I used to think making yeast bread was out of reach. I was extremely intimidated by the actual yeast. Is the water too hot? Is the liquid too cold? Either it will kill the yeast or it won’t activate the yeast. I hate failing (like most people), so after trying initially many years ago, I didn’t go back to trying again until last year. I got a bright idea to buy a bread machine for last winter. I quickly learned that you do not bake the bread in the bread machine. You make the dough in the bread machine, but take the last rise out of the bread maker and bake it in a standard oven. Letting the bread maker knead the exact helped my self-confidence.I’ve been making bread now for about a year and let me just tell you, I think I’ve mastered it. And once you get the self-confidence, you are unstoppable. After a while you “get the feel” of the dough and know when it needs more flour or liquid or whatever. You just know. This takes about 10 or so times before that “feel” kicks in, so be patient. Be prepared to throw a batch or 2 or 3 away. Not all of mine in the beginning turned out. And do yourself a favor – do not learn by jumping into wheat or whole grain right away. Once you learn the feel you can begin healthifying your dough but until then, resist the temptation.
WARNING: Be careful about attempting bread making. Once you start making yeast breads, your family will not let you stop. My husband professed he would never eat sandwich bread again. I laughed at him, of course. Obviously I can’t keep up with his bread consumption and work full-time (and now write a blog). It is awfully nice to have fresh bread though. Good to have in your bag of tricks when you want to thoroughly impress someone and exude little or no effort.
If you have a bread machine, first dust it off (I’m assuming you’re like most people and use it once or twice and abandon it). I’ll show you the step by step way to make this fabulous dough that can be made into cloverleaf dinner rolls. You can also make them into a loaf of bread or regular round dinner rolls. It’s beautiful and versatile dough. I hope you give this recipe for Garlic Cloverleaf Dinner Rolls a try. Let me walk you through the recipe.
<Scroll all the way to the bottom for a standard printable recipe>
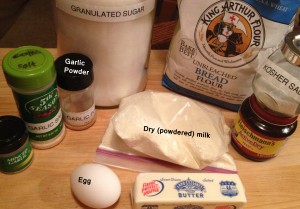
Here are the ingredients: butter, water, dry milk (powdered), granulated sugar, salt, garlic powder, granulated garlic (dried/dehydrated garlic), bread flour, active dry yeast, egg white, more butter, and garlic salt
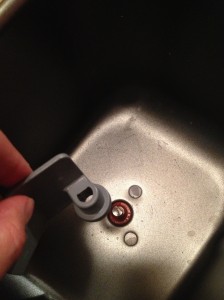
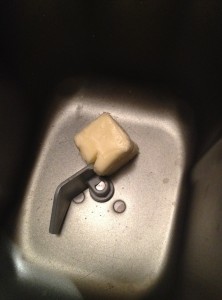
Attach the paddle to your bread maker. May seem like a “duh”, but I have forgotten to do this more than once (you’d think I would learn, but nope).
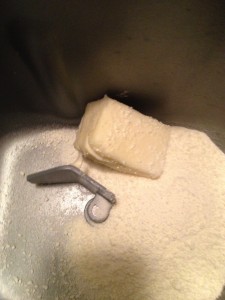
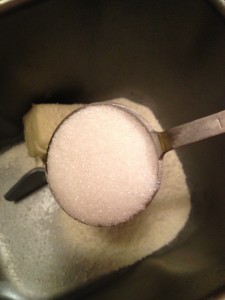
In this exact order, add to the bread machine pan the butter, dry milk and granulated sugar…
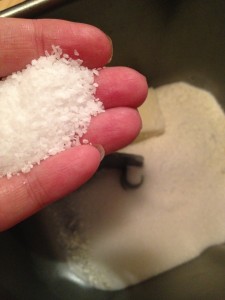
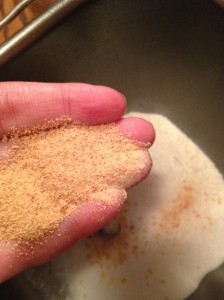
…and the salt, dried/dehydrated garlic and garlic powder…
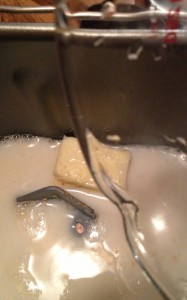
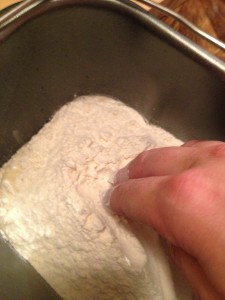
…the water that is between 105°F and 115°F (if it feels hot from the tap, but not scorching you are probably ok), and then the bread flour. I make sure to cover all the preceding ingredients with the bread flour so there is no other ingredients showing (including water).
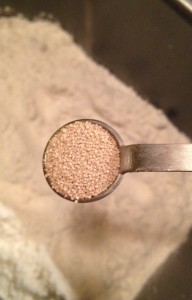
Now add the yeast. Sprinkle it over the top of the bread flour. That’s it!
Now just set your bread machine on the dough cycle and press START (check your bread machine manual for specifics).
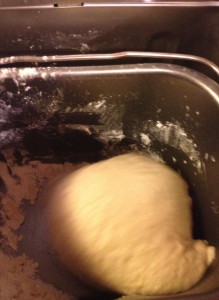
The bread machine takes care of all the kneading and rising up until the last rise.
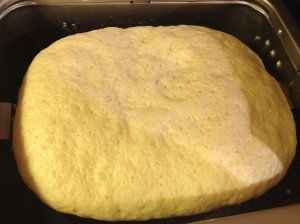
This is what my dough looked like after the final rise in the bread machine.
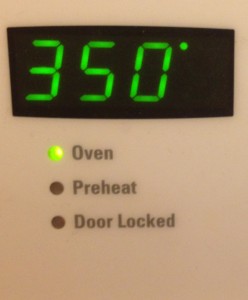
Preheat your oven to 350°F (175°C).
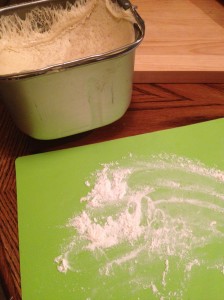
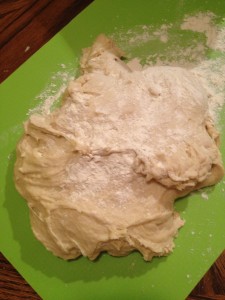
Now flour the surface you will be working the dough on. You can see clearly my dough is a bit sticky. It’s ok. All that I had to do was add a bit more flour than usual. I added in teaspoon increments to make sure I did not over-flour. Begin to work the dough and when your hands don’t stick, it’s ready to be kneaded a few times.
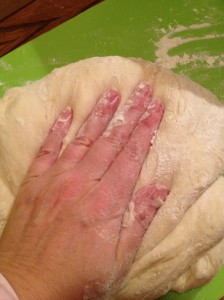
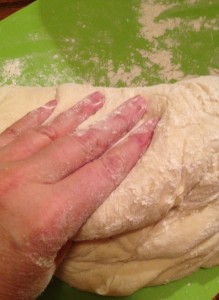
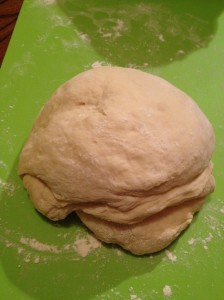
This dough is really soft and tender. Most bread I’ve made hasn’t been this tender. Knead 3 or 4 times by folding and lightly pressing down. Then turn the dough and repeat.
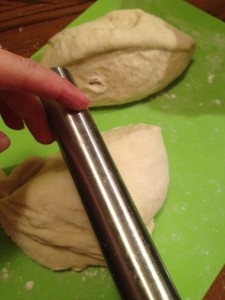
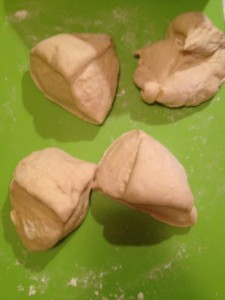
Now that the dough is ready, you need to divide it into 36 pieces (3 balls in each of the 12 muffin tin holes.) Divide the dough in half, and then in half again to get to 4 pieces.
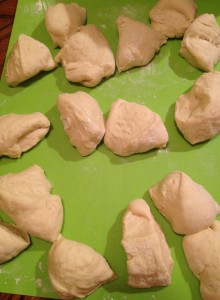
Then divide each fourth into 3 pieces. And then 3 pieces from each third. That will get you 36 balls (the math works out, I double checked). If you don’t get exactly the same size balls, it’s ok. Just call them “rustic”. They will still taste divine, I promise.
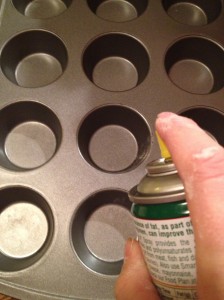
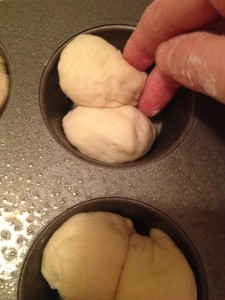
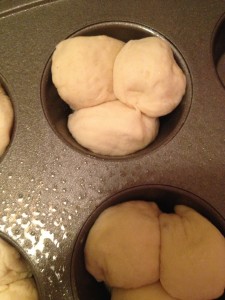
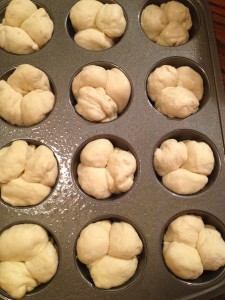
Spray a standard muffin tin with non-stick cooking spray. Add 3 balls to each muffin tin hole.
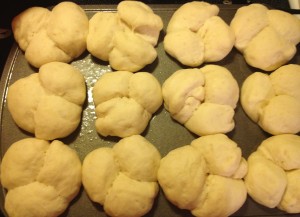
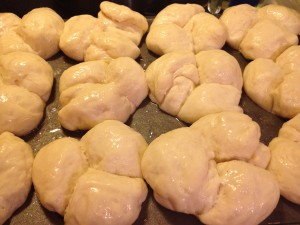
The tray on the left is before the final rise. Cover with a clean kitchen towel and place in a warm (non-drafty) area of your kitchen and wait 45 minutes or so until they have approximately doubled in size. The tray on the right has risen nicely and is ready for the oven…well, almost ready.
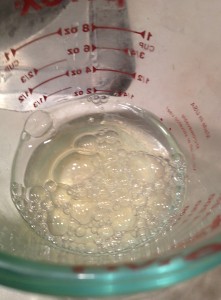
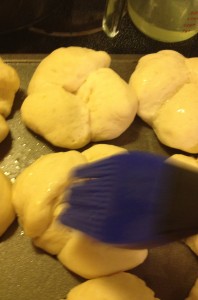
Add and egg white and 2 tablespoons of water to a dish. Lightly brush each roll with this egg wash.
Now they’re ready for the oven.
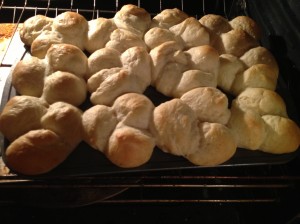
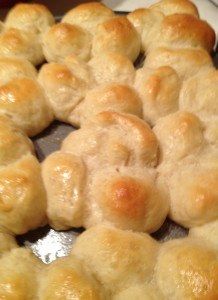
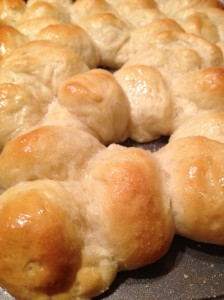
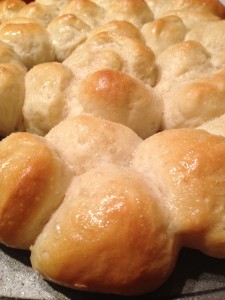
Bake them at 350°F (175°C) for 15-18 minutes or until golden brown. Different size and shape of rolls can determine how long to bake. Also, ovens vary in temperature calibration. So be sure to check by look and feel (lightly press on them and if they appear too soft, they probably are not done).
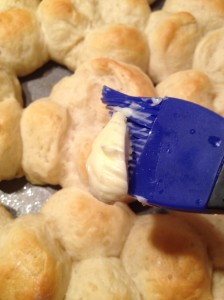
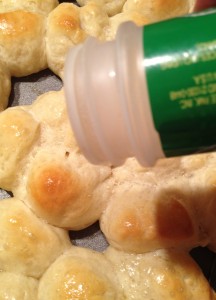
Immediately when they come out of the oven, slather them (I mean brush them) with a lot of butter and sprinkle with desired amount of garlic salt.
Yum…YUM…YUMMMMM!
I thought I messed these up by adding too much water. I course corrected and these turned out beautiful. These are VERY tasty. I hope you give them a try. If you do try this recipe, please let me know how it turns out (comment below).
Enjoy the comfort of food!
++++++++++++++++++++++++++++++++++++++++++++++++++++++++++++++++++++++++++++++++++++
Printable Recipe:
Recipe URL: https://recipesingoodtaste.com/?recipe=recipe-garlic-cloverleaf-dinner-rolls-bread-machine-2Garlic Cloverleaf Dinner Rolls (Bread Machine)
Serves
12
Prep time
3 hours, 15 minutes
Cook time
15 minutes
Total time
3 hours, 30 minutes
Allergy
Milk Allergy (Dairy), Wheat Allergy (Gluten)
Dietary
Vegetarian
Meal type
Bread and Rolls
Misc
Child Friendly, Pre-preparable, Serve Cold, Serve Hot
Ingredients
Dough
Top BEFORE baking
Top AFTER baking
Note
Directions
Step 1
Place all dough ingredients in bread machine pan in exact order listed above.
Step 2
Set machine on DOUGH cycle and press start.
Step 3
Grease muffin tin and set aside.
Step 4
Remove the dough from bread-machine when DOUGH cycle has finished.
Step 5
Preheat oven to 350°F (175°C).
Step 6
On lightly floured surface, divide into 36 equal pieces and shape them all into balls.
Step 7
Place 3 balls in each muffin tin cavity.
Step 8
Cover with a clean kitchen towel and allow the dough to rise in warm place for about 45 minutes or until they have doubled in size.
Step 9
Combine egg white and water in small bowl. Lightly brush egg wash over top of rolls.
Step 10
Bake rolls for 15-18 minutes or until light golden brown.
Step 11
Remove from oven and immediately brush heavily with butter & sprinkle with desired amount of garlic salt.
Step 12
Serve warm.
Step 13
Store in an airtight container for up to 2 days (if they last that long).
++++++++++++++++++++++++++++++++++++++++++++++++++++++++++++++++++++++++++++++++++++
PS: If you see mistakes (i.e., spelling errors or inconsistencies in the recipe), please tell me right away. I appreciate any help I can get!







 Print recipe