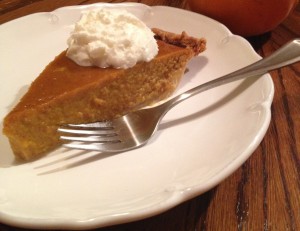
Recipe: Fresh Pumpkin Pie
 Pin It
They say admitting an addiction is the first step. Well I’m addicted to Pumpkin. I love pumpkin … by that I mean virtually anything pumpkin flavored. I love pumpkin bread, pumpkin bars, pumpkin scones, pumpkin chai latte, pumpkin muffins, pumpkin…oh my goodness, I could go on and on and on (I think I just had a Forest Gump moment). One of my all-time favorites is the beloved pumpkin pie. And I don’t only make it for Thanksgiving; I make it from mid-September through November (and sometimes into December.) I am not ashamed of my addiction; I’ve just learned to own it. And I ask you, what other addiction has that much fiber (about 7 grams of fiber per cup)? None I can think of.
I think my addiction may actually be hereditary. My dad loved pumpkin pie – maybe even more than I do. He even baked his own pies for years and years. My fondest pumpkin pie memory unfortunately is somewhat of a sad one. When my dad was losing a battle to lung/bone cancer several years back, I was with him at least several days a week – as often as I could be with him. And since he was withering away, I felt the need to feed him. I’d ask him what he wanted me to make him, and inevitably “a pumpkin pie would sure be nice” came from his lips. And the timing was late winter, so definitely not your average pumpkin pie season. So as you can imagine, I baked and baked and baked. For a while there I was baking 1-2 pies a week. He gobbled down each pie in a few days as if he hadn’t had it in years. I would do anything to bake him another pumpkin pie. What a fond memory I will have forever.
More on my pie! Last year was the first year I made a fresh pumpkin pie. Although the canned pumpkin is pretty darn good, I had a pie pumpkin in my CSA box (consumer supported agriculture – mine is Featherstone Farm CSA). I roasted the pumpkin (cut in half and cut side down) at 425 degrees for about 35-45 minutes until fork tender. Then I pureed it all in the food processor until baby food smooth. It looks and tastes almost identical. I heard on a Food Network (yes, I’m addicted to the Food Network too) show recently that there was a Pumpkin Pie taste test having one with fresh pumpkin puree and one using canned pumpkin puree (using unsweetened canned pumpkin). Most of the adults and children picked the fresh pumpkin pie vs. canned pumpkin pie. Only one child chose the canned pumpkin puree. Does that mean the canned pumpkin is unacceptable? No. I have about 10 cans in my pantry right now, so I must think it’s good. I do like the thought that my pumpkin puree is the freshest organic pumpkin that came from a farm nearby.
Enough …let me show you how to make the pie already.
<Scroll all the way to the bottom for a standard printable recipe>
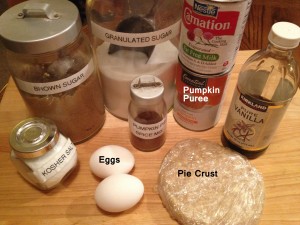
Here are the ingredients: Eggs, pumpkin pie spice, kosher salt, vanilla extract, granulated sugar (white), brown sugar (light), evaporated milk, pumpkin puree (I used fresh pumpkin, but canned is good too), pie crust (I made my own crust, but you can buy prepared unbaked pie crust/shell).
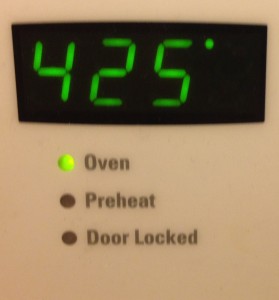
Preheat your oven to 425° F (215°C).
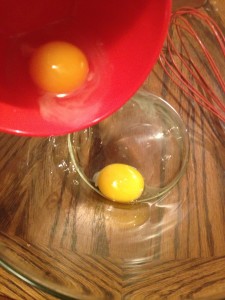
Add eggs to a large mixing bowl and whisk to beat slightly.
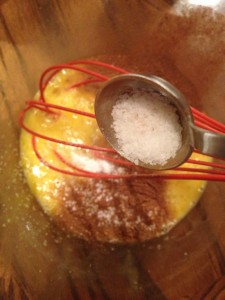
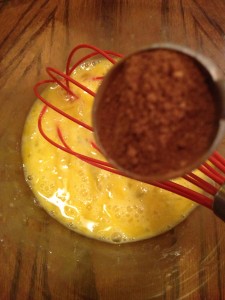
Add in pumpkin pie spice (How to Make Pumpkin Pie Spice) and then the kosher salt and then whisk to combine.
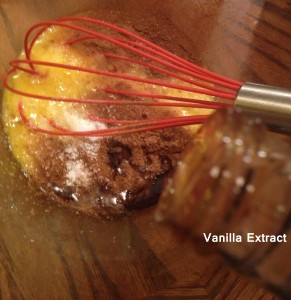
Add in the vanilla extract, and you guessed it –whisk to combine.
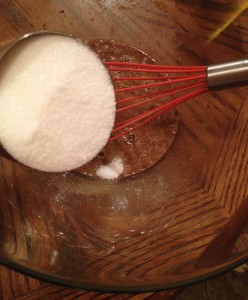
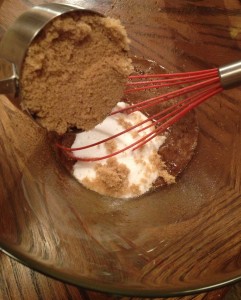
Add in both of the sugars. One variation with my dad’s pumpkin pie recipe – was he made it with honey most of the time. To make that modification, I use 3/4 cup total honey in place of both sugars. It’s a slightly different taste that I really like too.
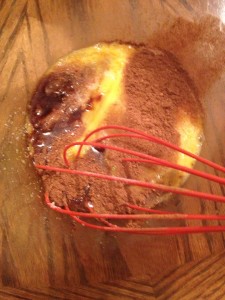
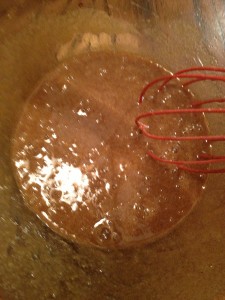
And whisk again.
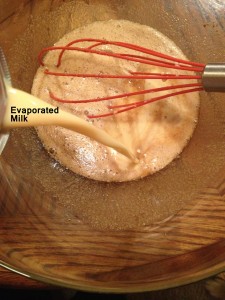
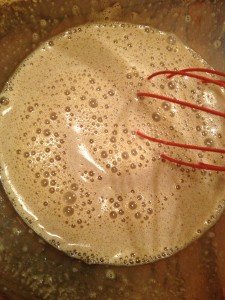
Add the evaporated milk and whisk yet again (note: if you whisk at all the stages, I find that it makes for smoother custard.)
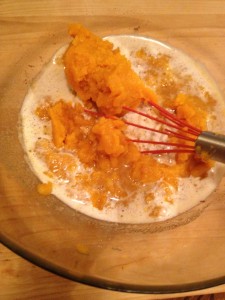
Add in the pumpkin puree. Again, I used fresh, but canned will of course work nicely. Lastly, one final whisk until thoroughly combine. Whisk until the custard is silky smooth.
NOTE: Since the pie (or sometimes called sugar) pumpkin is in the same family as winter squash, you can puree any variety of winter squash and it acts the same as pumpkin puree (I’ve tried it in almost all my pumpkin recipes). So if you have a ton of winter squash like me, be creative and use it up in any recipe with pumpkin puree.
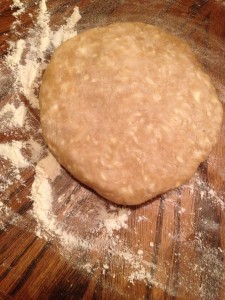
Now on to the pie crust. I’ve bought the store-bought pie crust for years and years. It’s really good, but there’s nothing like your own homemade pie crust. You can see the chunks of butter peppered throughout this dough. It’s a thing of beauty. The butter and shortening in my crust make it tender flaky. Pie crust is not that difficult to make…especially if you have a food processor. 5 minutes of your time and 30 minutes in the fridge. That’s all it takes. I’ll demonstrate my pie crust recipe in a later post.
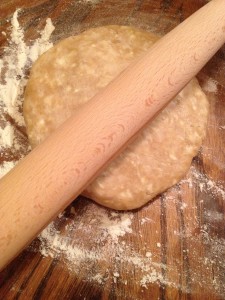
Here’s a trick flatten the pie crust dough when it’s fresh out of the refrigerator. Take your rolling pin and lightly pound on the dough (don’t go too crazy on it or you’ll mess it up). Just beat it lightly in all directions to give a nudge in the flattening process and get it closer to the roll out stage.
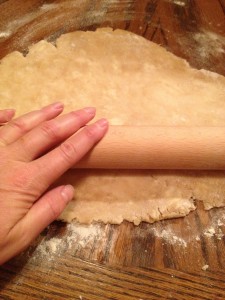
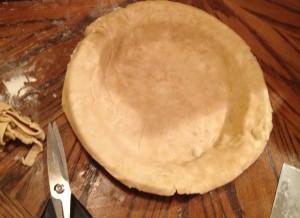
Begin rollout out the pie crust dough. Roll long strokes one way and then go the opposite way (making a “+” in direction.) After each “+” flip the pie crust dough over and repeat until the dough covers your pie pan with an over-hang of at least an inch … and the thickness is around 1/8 inch thick. Too thin it will fall apart; too thick, well yuck.
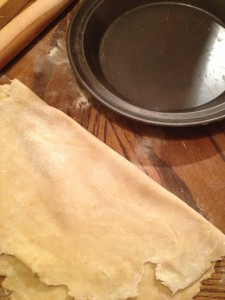
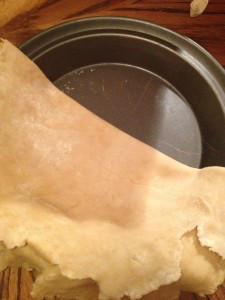
When the pie crust dough is the right dimensions, gently fold it in half and lift it to meet the middle of the pie pan.
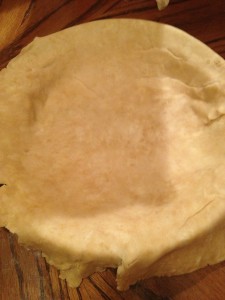
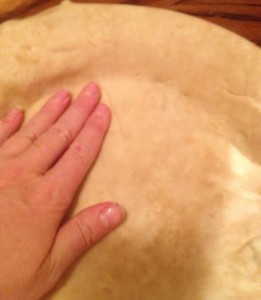
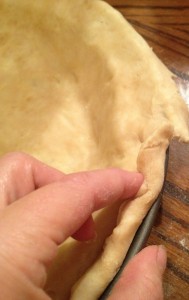
Then unfold to cover the entire pie pan and then press the dough gently into the corners of the pie pan. Just make sure the dough is in contact with the entire inside of the pie pan.
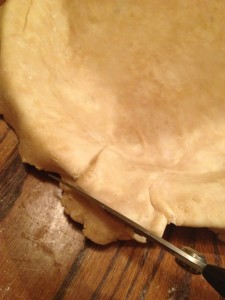
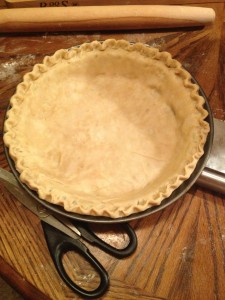
Now time to trim with your kitchen shears or carefully with a sharp knife. Make sure there is about a one-inch over-hang. Don’t trim too much. You can always take off more, but it is more difficult to add it back.
Take the over-hang and gently roll/fold it in around the whole pie (some fold out, but I think folding in makes the decorative edge prettier).
I did a basic Fluted Pinched Edge. It was too difficult to take pictures since I am the photographer on this one. I will document in a post at a later date when my dear husband can take pictures. For now, here’s a good resource for decorative pie crust edges (great step-by-step). Decorative Pie Crust Edges 101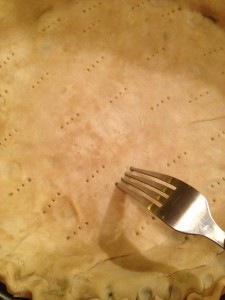
Docking the pie is the last step before adding the custard and baking off. Docking is necessary to avoid warping or the pie crust filling with too large of air pockets – which doesn’t look too pretty. It will taste fine though – but almost everyone has a standard kitchen fork and 15 seconds to aerate their pie crust, right?
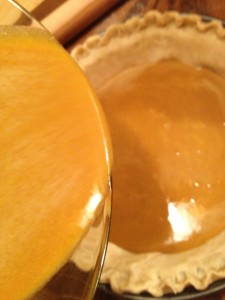
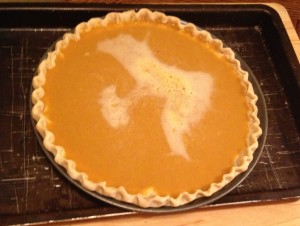
Carefully pour in the pumpkin custard into the prepared pie crust shell. It makes for a MUCH easier transport to the oven if you put the pie on a rimmed baking sheet prior to filling the pie.
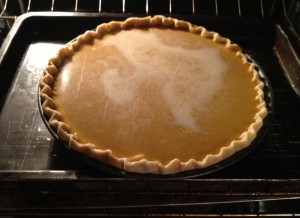
Bake at 425° F (215°C) for 15 minutes.
After the 15 minutes have passed, reduce the oven temperature to 350° F (175°C). No need to touch or even check the pie. Remain baking for 40-50 minutes or until toothpick is entered in center of pie comes out clean.
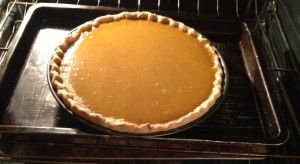
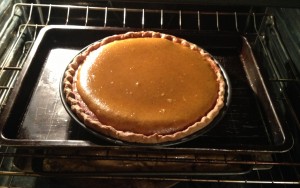
Not ready yet, but it is close.
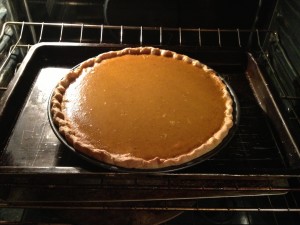
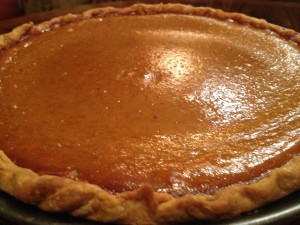
Now it’s ready. Remove it from the oven and place it on a cooling rack for at least 2 hours.
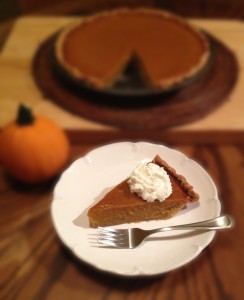
This picture is driving me crazy … it makes my mouth water!
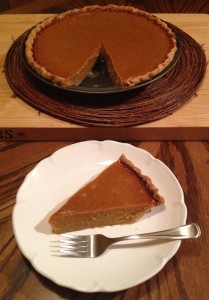
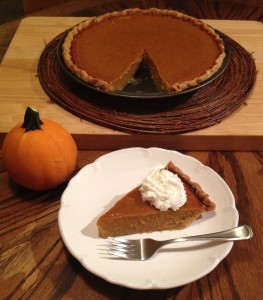
Mmmmmm…makes me want to dive in with that fork! Whether you like it with or without whipped cream…you will love this pie. I hope you give this pie a try.
Enjoy the comfort of food!
++++++++++++++++++++++++++++++++++++++++++++++++++++++++++++++++++++++++++++++++++++
Printable Recipe:
Fresh Pumpkin Pie
| Serves | 8 |
| Prep time | 15 minutes |
| Cook time | 55 minutes |
| Total time | 1 hours, 10 minutes |
| Allergy | Egg allergy, Milk Allergy (Dairy) |
| Dietary | Vegetarian |
| Meal type | Dessert |
| Misc | Pre-preparable, Serve Cold |
| Occasion | Thanksgiving |
| Website | Libby's Recipes |
Ingredients
- 2 Large eggs
- 2 1/2 teaspoons pumpkin pie spice (see make your own recipe above in step-by-step)
- 1/2 teaspoon kosher salt
- 1 teaspoon vanilla extract
- 1/2 cup granulated sugar (white sugar)
- 1/2 cup light brown sugar
- 1-12 ounce can evaporated milk
- 1 3/4 cup fresh pumpkin puree (15 ounces fresh pumpkin puree OR one15 ounce can pumpkin puree)
- 1 prepared unbaked pie shell (either make your own or buy pre-made)
Note
Recipe adapted from the Libby's recipe (Blog Recipe URL: https://recipesingoodtaste.com/?recipe=fresh-pumpkin-pie)
Directions
| Step 1 | Preheat the oven to 425° F (215°C). | |
| Step 2 | Whisk to combine beaten eggs, pumpkin pie spice, salt, sugars, and vanilla extract in large bowl. | |
| Step 3 | Add evaporated milk and whisk to combine. | |
| Step 4 | Add pumpkin puree and whisk to combine. | |
| Step 5 | Carefully pour the pumpkin custard into prepared unbaked pie shell. | |
| Step 6 | Bake pie for 15-minutes in 425° F (215°C) preheated oven. Then reduce temperature to 350° F (175°C) and bake for another 40-50 minutes or until toothpick inserted near center comes out clean. | |
| Step 7 | Cool pie on wire rack for at least 2 hours. Either serve immediately or refrigerate. | |
| Step 8 | If desired, top each slice with whipped cream. |
++++++++++++++++++++++++++++++++++++++++++++++++++++++++++++++++++++++++++++++++++++
PS: If you see mistakes (i.e., spelling errors or inconsistencies in the recipe), please tell me right away. I appreciate any help I can get!


 Print recipe