Recipe: Foolproof Lightened Banana Bread
 Pin It
This is my very first recipe post! I know it’s pretty rough around the edges; however I’m hoping my blog’s look and feel – as well as writing will improve dramatically over time.
If I had to pick one thing that is my cooking/baking specialty, I’d say Banana Bread right up there. I bake to relax and I’ve made literally hundreds of loaves over my lifetime. I must be pretty relaxed, huh? Sadly that’s not the case…
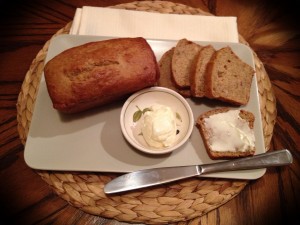
My mom has always baked a great loaf of banana bread (I will post her recipe someday if she lets me), so I learned from the best. In fact, we debated just this past weekend and each of us thinks our Banana Bread is the best. My mom’s “secret ingredient” is sour cream. I will admit her recipe is very, very good, however being the stubborn German that I am – I had to make a slight variation to my own recipe. My “secret ingredient” is fat free Greek yogurt. Yep, you read it right; FAT FREE. Both sour cream and Greek yogurt help to make the bread tender without using oil or butter. I use fat free Greek yogurt over sour cream to lighten it up a bit and add more of the health benefits of Greek yogurt (i.e., low fat, high protein, etc.). Although I am lightening the loaf, I do love to slather some of the spreadable butter on each slice. It’s all about balance.
I have 3 tips for you to ensure you have great banana bread each time you bake it:
- Make sure your bananas are good and ripe. Yellow with green flecks (no brown spots) = bad; Yellow with a good amount of black= good. As the banana ripens, the sugars develop stronger and stronger and that’s where you get amazing banana flavor (and natural sweetness). I freeze them at the very ripe stage. You can do this by placing the bananas (peeled OR unpeeled) directly in a freezer zip top bag. They will last several months in the freezer (I typically have used them by about the 3 month mark, so I don’t know if they last any longer than that.) Thaw the bananas slightly, however, so they mix in easier. If you are mixing the batter by hand, thaw completely over-night in the refrigerator.
- Measure the ingredients precisely. Use measuring cups/spoons; use the “scoop and level” or “scoop and sweep” method for measuring flour and sugar (I will demonstrate in an upcoming post, but for now it’s described below in the step-by-step.) Baking is a science…blah, blah, blah. I know you’ve heard that one a million times. It is true, so measure accurately for goodness sakes!
- Test each loaf for level of “doneness” with a toothpick. I have seen it with my own eyes where one loaf is ready, while another has several more minutes to bake. All ovens are not created equal and some have hotspots (which is normal). I think most people make the mistake of either taking the bread out too early OR leaving it in too long. If batter comes out with the toothpick; leave it in. If it comes out clean; take it out of the oven. It’s not that hard; let the toothpick be your guide.
I know you must be saying, these aren’t earth shattering secrets – that’s because they aren’t. Banana bread is not difficult at all. Let me walk you through it.
<Scroll all the way to the bottom for a standard printable recipe>
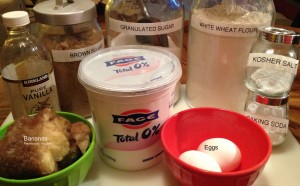
Here are the ingredients you will need for the banana bread:
Flour (I use white wheat flour, but you can use any all-purpose flour), baking soda, salt (I use kosher salt, but you can use table salt), granulated sugar (a.k.a. white sugar), light brown sugar, plain fat free Greek yogurt (you can use your choice of fat content OR even use sour cream or softened butter), eggs, bananas (mine were frozen in the very ripe stage), vanilla extract, and walnuts, too, if desired (not shown).
Preheat your oven to 350°F (175°C) and prepare loaf pans by spraying with non-stick cooking spray. You can use any size loaf pan you like. You will just adjust the baking time. For a standards loaf pan (9×5) back at the time listed below.
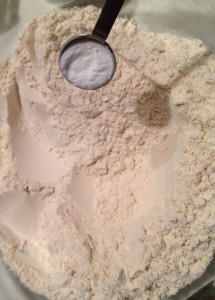
Measure out the flour using the “scoop and level” or “scoop and sweep” method. This involves scooping the ingredients into the measuring cup and then sweeping off the excess of the ingredient at top of measuring cup – using a long, flat utensil, like a knife, bench scraper, etc. If you do this over a paper towel or clean kitchen towel, you can easily add back to your ingredient bin (as not to waste). If you do not do this, you risk get way too much flour than your recipe calls for (net, net, a dry loaf). So after you’ve scooped and fluffed the flour around a bit to loosen/lighten, take any stiff flat edge and sweep across your measuring cup for the most accurate reading.
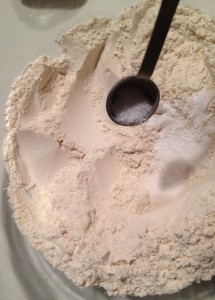
Measure carefully the baking soda and then the kosher salt and add to the bowl with the flour. Be careful not to mound the measuring spoons – level off them just as you did with the flour.
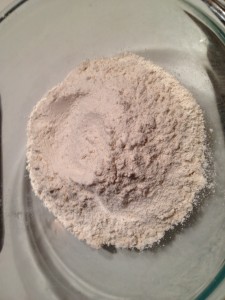
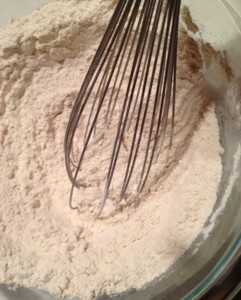
Whisk together the flour, baking soda, and salt (that’s my fast form of sifting) and set aside.
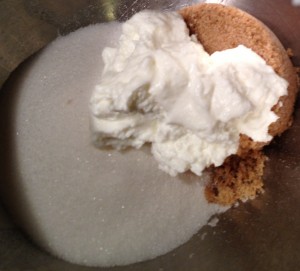
Measure in large mixing bowl granulated sugar, light brown sugar and Greek yogurt.
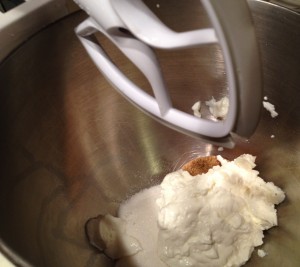
Add the beater blade and get ready to mix. This part of the recipe can easily be whisked by hand – with a strong arm.
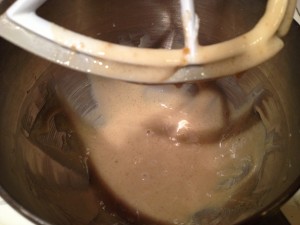
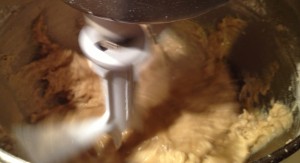
Mix together Greek yogurt and both sugars on low speed at first and then gradually increase to higher speed. Mix until well combined and it is a smooth consistency (about 1-2 minute).
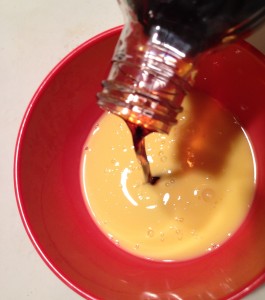
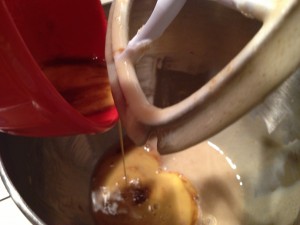
Whisk together the eggs and vanilla. Add eggs and vanilla mixture to mixing bowl.
Now whip it – whip it good (sorry for the 80’s reference)! Mix until thoroughly combined. Again, this part of the recipe can easily be whisked by hand – with a strong arm. The batter should be smooth again.
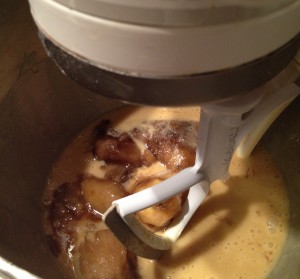
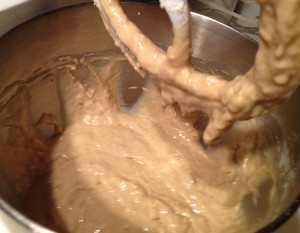
Now it’s time to add the ripe bananas. As I mentioned in the ingredients shot, I am using frozen ripe bananas here that have been slightly thawed. If you are using a mixer, it’s okay if they are a tad frozen still. If you are mixing by hand, you benefit from a complete thaw in the refrigerator over-night.
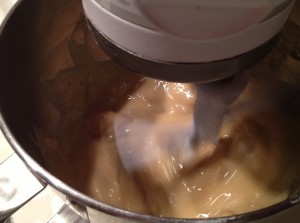
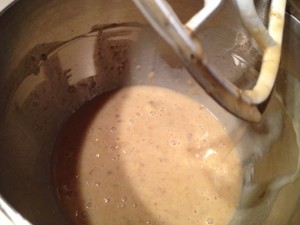
It’s time to mix again until thoroughly combined and smooth – as shown about in the picture on right.
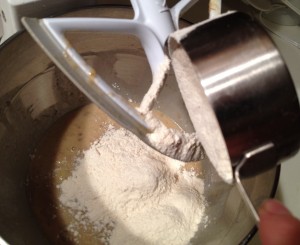
Remember that flour, baking soda, salt mixture you carefully measured and set aside? It’s time to add the flour to the wet mixture.
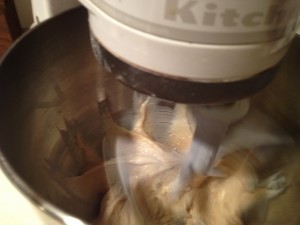
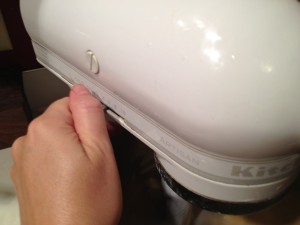
Before you go gang-busters and turn the mixer on full blast, here’s a trick I learned to keep your face and clothes flour-free during the flour adding stage. Pulse the mixer on and off until the flour just starts to be absorbed and mixed into the wet ingredients. It works beautifully! If you don’t wish to try this trick, simply add the flour gradually – just do not over-mix.
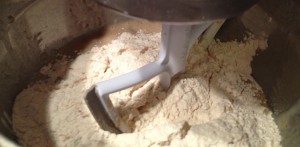
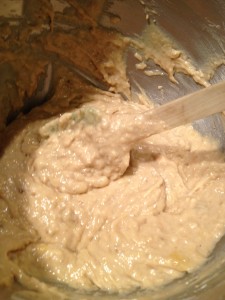
Once you’ve got most of the flour incorporated (not all), turn the mixer on higher for about 15 seconds. Literally – super fast! Do NOT over-mix. Batter can have a few lumps in it which you can mix with a rubber scraper by hand the last few strokes to not over-mix. If you don’t have or want to use a mixer to incorporate the flour, you can mix by hand by folding in with a rubber scraper. At this stage you can add in chopped nuts. Did I mention not to over-mix? Well don’t!
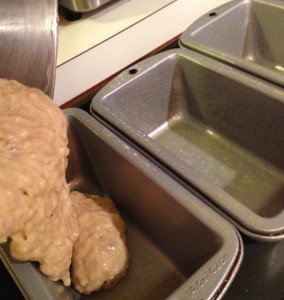
We’re in business…time to fill the loaf pans.
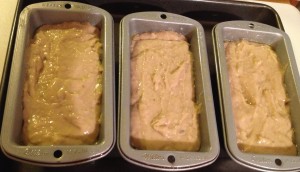
Spoon batter into prepared standard size 9×5 loaf pan (or use desired size loaf pan) and fill to about 2/3. If you over-fill the pan, it gets pretty messy as it spills over in the oven. It will still taste good; however your loaves won’t look as pretty. As a precaution I always put the loaf pans on top of a sheet pan in the oven. This also makes for easier oven removal. Also, if I ever have extra batter, I just put them into muffin tins & bake them off – for much less time, for obvious reasons.
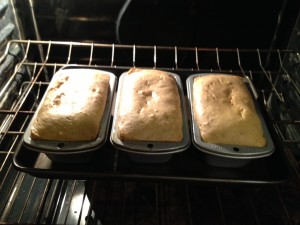
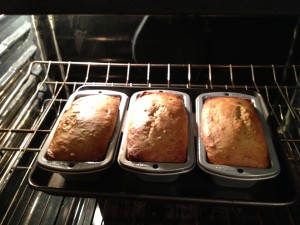
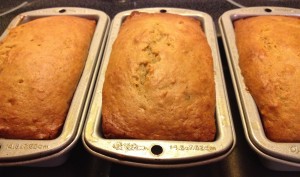
Bake at 350°F (175°C) for 1-hour for a standard 9×5 size loaf pan. Shown here are small loaf pans (not mini). I baked them for around 35-40 minutes. It really can’t hurt to start checking with a toothpick/skewer or cake tester around the 30 min mark for smaller loaves.
These are starting to look pretty good…I think we should check to see if they are done.
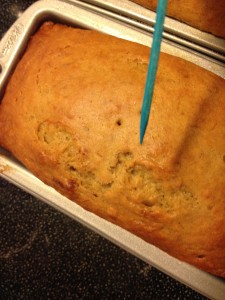
To check to see if the loaf is done, insert a toothpick/skewer or cake tester into the center of each loaf and once it comes out clean, it’s ready for the cooling stage. Again, I used small pans and began checking with a toothpick at about the 30 minute mark (checking every 4 minutes or so.) As you can see the toothpick came out clean…hooray!
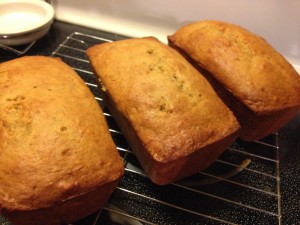
Next is a step that I didn’t know the importance until I experienced it. When I took the loaves out without resting in the pan for 10-minutes, the loaves had a tendency to fall apart as I took them out of the pans. If you leave the loaves in the pans for long past the 10-minutes – it has a tendency to create a soggy loaf exterior. Neither is desirable. So cool in the pan for 10 minutes on a wire rack and after the 10-minutes of in-pan cooling – remove from loaf pan and cool completely on wire rack (about 2 hours).
The waiting is the hardest part. I LOVE banana bread…especially with a slathering of softened butter. Yum!
I hope you enjoy it! Please leave a comment with any questions or info on how it turned out.
Enjoy the comfort of food!
++++++++++++++++++++++++++++++++++++++++++++++++++++++++++++++++++++++++++++++++++++
Printable Recipe:
Recipe URL: https://recipesingoodtaste.com/?recipe=foolproof-lightene-banana-bread Foolproof Lightened Banana Bread
Serves
16
Prep time
10 minutes
Cook time
1 hour
Total time
1 hour, 10 minutes
Allergy
Egg allergy, Milk Allergy (Dairy), Wheat Allergy (Gluten)
Dietary
Vegetarian
Meal type
Bread and Rolls, Breakfast, Dessert, Snack
Misc
Child Friendly, Freezable, Serve Cold
Ingredients
Note
Directions
Step 1
Preheat oven to 350°F (175°C). Spray loaf pan(s) with non-stick cooking spray. Set aside.
Step 2
Whisk together the flour, baking soda, and salt. Set aside.
Step 3
Place the sugars and Greek yogurt in a large mixing bowl and beat with a mixer at medium speed until well blended (about 1-2 minutes). You can mix the entire recipe by hand as well.
Step 4
In a separate small bowl, beat the eggs well and add vanilla extract. Gradually add egg/vanilla mixture to the sugar/yogurt mixture.
Step 5
Add bananas and mix a final time until just blended.
Step 6
Slowly add flour mixture, mixing at low speed until just combined. Do not over-mix.
Fold in chopped walnuts, if desired.
Step 7
Spoon batter into prepared medium size loaf pans (or desired size) and fill to about 2/3 full.
Step 8
Bake for 1 hour for a medium size loaf OR simply check with a wooden toothpick, skewer or cake tester. Insert in center of loaf and if it comes out clean, it’s ready. (I used small loaf pans and began checking with a toothpick at around 30 minutes).
Step 9
Cool in pan for 10 minutes on a wire rack. After the 10-minutes of in-pan cooling, remove from loaf pan and cool completely on wire rack (about 2 hours).
++++++++++++++++++++++++++++++++++++++++++++++++++++++++++++++++++++++++++++++++++++
PS: If you see mistakes (i.e., spelling errors or inconsistencies in the recipe), please tell me right away. I appreciate any help I can get!



 Print recipe


