How to Make Homemade Ricotta Cheese
 Pin It
I was visiting with one of my 3 sisters a week or so ago during a football game (my husband was NOT thrilled that we were talking during “the big game”). I must have been complaining that I sometimes have a hard time finding it Target stores with grocery. She swears she can find it there, so I’m convinced it’s just a store by store stocking thing.
Anyway…she mentioned how easy it is to make ricotta cheese from scratch. Since I had never tried to make it, I set out to do it. All I needed was some 2% milk and the rest I was covered in my pantry and fridge. It’s truly too easy not to make it. Unless I’m making something very last minute, I will never buy ricotta cheese from the store again. You can’t get much fresher than “just made”. Let me show you how easy it is to make this Homemade Ricotta Cheese for your recipes.
Adapted from Fat Girl Trapped In a Skinny Body.
Homemade Ricotta Cheese
| Serves | 8 |
| Prep time | 1 hours, 1 minute |
| Cook time | 10 minutes |
| Total time | 1 hours, 11 minutes |
| Allergy | Milk Allergy (Dairy) |
| Dietary | Diabetic, Gluten Free, Vegetarian |
| Meal type | Condiment |
| Misc | Child Friendly, Freezable, Gourmet, Pre-preparable, Serve Cold |
| Website | Fat Girl Trapped in a Skinny Body |
Ingredients
- 8 cups 2% milk
- 2 cups nonfat milk
- 1 teaspoon kosher salt (any salt)
- 1/4 cup lemon juice (4 tablespoons)
Note
Recipe URL: https://recipesingoodtaste.com/?p=5743
Directions
| Step 1 | Pour the milks and salt into a saucepan. Attach a thermometer to the side (candy or deep-fry thermometer). | |
| Step 2 | Heat the milk until it reaches 190 degrees, stirring occasionally so it doesn’t scorch on the bottom This takes only a 5-10 minutes. | |
| Step 3 | Remove from the heat and add the lemon juice, then stir it once or twice (really, only stir it a couple times). Let it sit for 5 minutes. Do not touch it, just let it sit. | |
| Step 4 | Double to triple layer a cheesecloth and line a colander with it, place the lined colander over a large bowl (to catch the whey). Pour the curds and whey into the colander and let the curds strain for anywhere from 30 minutes – 2 hours. You can also tie the ends of the cheesecloth together and hang it on your sink faucet and strain the whey into a bowl. Draining the ricotta over the sink (into a bowl) is a pretty easy and clean way to drain it. | |
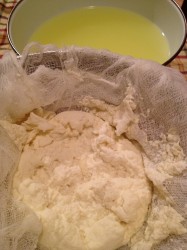
| Step 5 | The ricotta firm as it cools, so the texture that it is in the cheesecloth isn’t the texture it will be after a few hours of being chilled. Here are approximate times and texture outcomes (after it’s chilled): 30 minutes = loose curdled ricotta (more like cottage cheese). 1 hour = firmer (but still loose) spreadable ricotta (most similar to what you buy in the store). 2 hours =thick, rich, firm (almost like mascarpone or cream cheese). | |
| Step 6 | Scrape the ricotta from the cheesecloth and store it in an airtight container in the fridge. |
Step-by-step instructions:
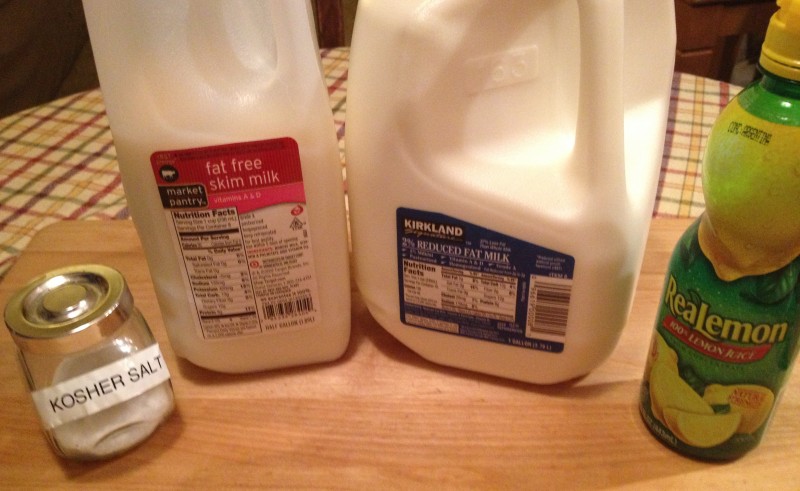
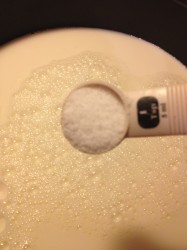
Here are the ingredients: milk (I used 2% and non-fat), salt, and lemon juice. That’s it.
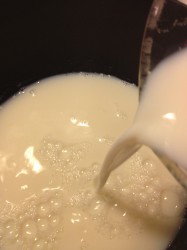
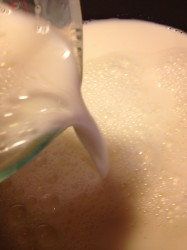
Add all of the milk and salt to a large stock pot or sauce pan.
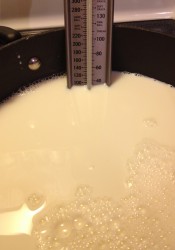
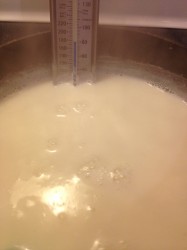
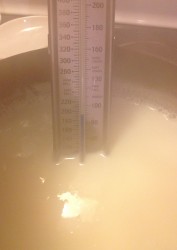
Attach a thermometer to the side of the pot. I used a candy thermometer, but you can use a deep-fry thermometer too.
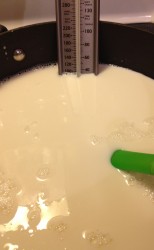
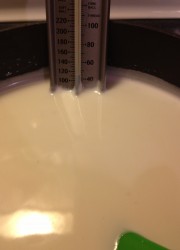
Stirring occasionally, warm the milk until it reaches 190 degrees. Stirring will help eliminate scorching. This should take around 5-10 minutes.
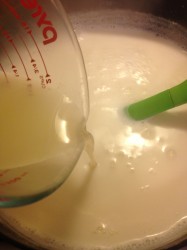
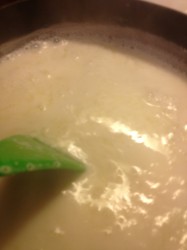
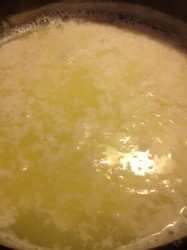
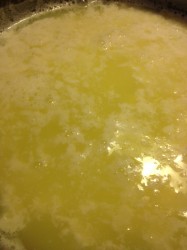
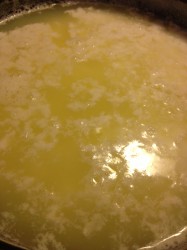
Remove from the pot from the heat and add in the lemon juice. Stir just once and allow to rest untouched for around 5 minutes. Resist the temptation to stir. Really!
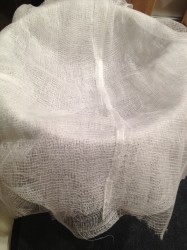
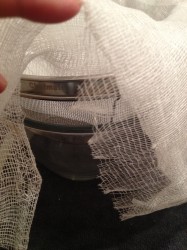
While you are leaving your mixture alone, prepare your colander/strainer, bowl, and cheese cloth. Make sure to line colander/strainer with at least 2, but preferentially 3 layers of cheesecloth. Place your cheesecloth lined colander/strainer on top of a large bowl that will allow the whey to strain into it. It needs to be big enough to hold the whey and small enough to fit the colander/strainer.
Alternatively to adding a bowl to catch the whey, you can just have the colander/strainer rest in the sink. The downside is that you will lose all that whey protein. It’s up to you though.
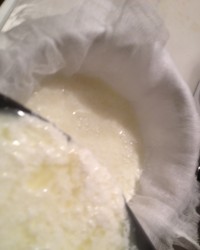
Pour the mixture into the cheesecloth lined colander/strainer and allow the whey to drip into the colander/strainer. You’ll allow it to strain from 30-minutes to 2-hours.
Straining Time Table
- 30-minutes = cottage cheese
- 60 minutes = ricotta cheese
- 120 minutes = cream cheese
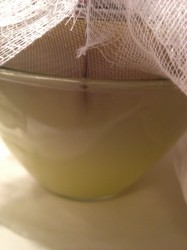
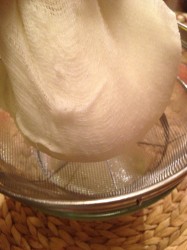
As you can see there is a lot of whey that comes out of this.
I had to empty my whey half way through so that it could all strain without touching the cheesecloth. That’s totally fine.
I saved the whey in the freezer for later use. You can add the liquid to smoothies, oatmeal, bread, pasta, beans, stock, etc. The possibilities are endless! Natural whey, like this, is such a great source of protein so it’s a shame to throw it away.
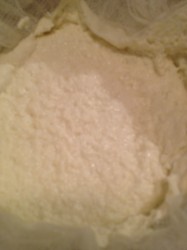
After about 30 minutes, here’s what you get. It’s much looser and has a decent amount of whey remaining. It will be more like cottage cheese at this stage.
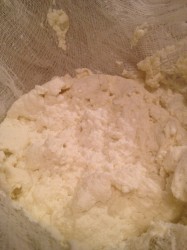
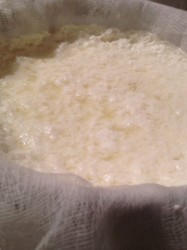
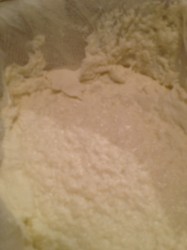
I kept going. I waited about an hour and this is what I got. It’s still loose and still a fair amount of whey liquid, but it is firmer. This is similar to traditional ricotta you buy in the tub at the store.
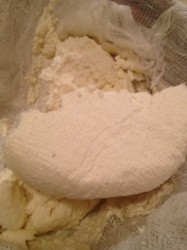
This is at about the 2 hour mark. It’s a lot like cream cheese at this stage. It’s thick and firm. Not really any whey liquid dripping from the colander/strainer.
I did not purposely stop the straining at 2 hours. My husband turned off my timer and didn’t tell me. Dirty bugger! I’m sort of glad he did so I could see this stage.
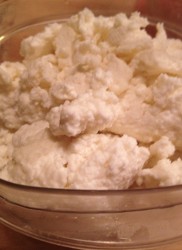
10 cups of milk yielded me about 2 cups of ricotta.
You can store the ricotta in the fridge in an airtight container. Just scrape the mixture from the cheesecloth. Ricotta cheese can also be frozen for up to two months, however freezing may affect the texture of the cheese.

 Print recipe